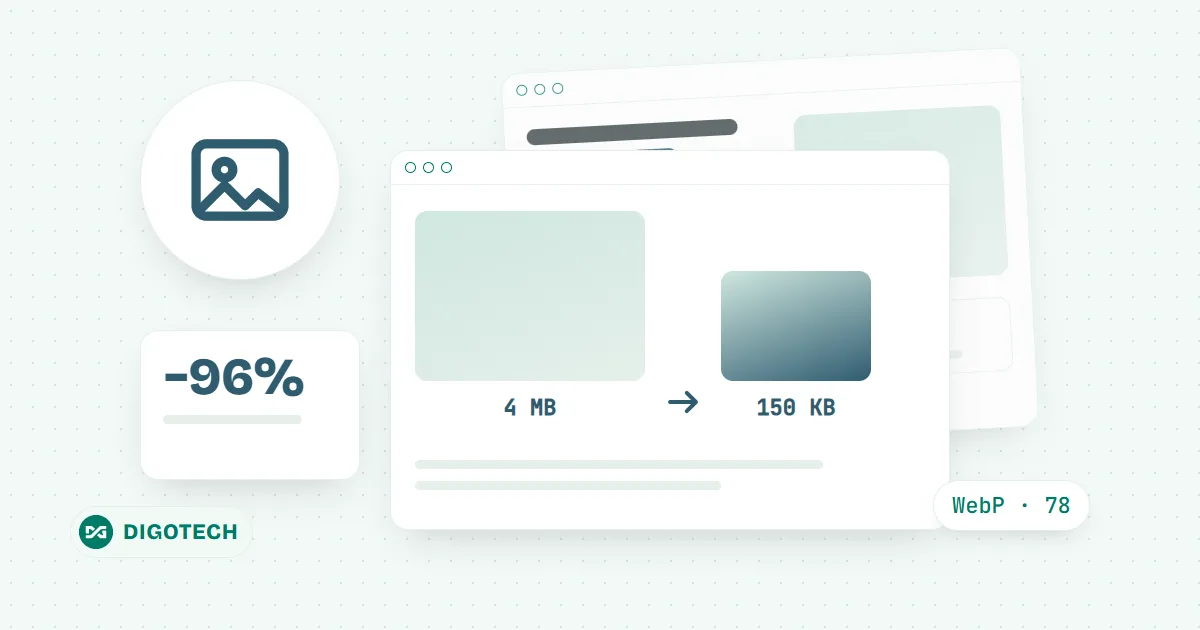
Photos taken on a phone usually weigh 3 to 6 MB. Put straight onto a website, a few of these on each page mean visitors on 4G wait several seconds to see any content, and many tap back before the page appears. Web images almost never need to be heavier than 300 KB; this guide shows how to bring image file size down to that level without the viewer seeing any difference.
Why do heavy images cost a website its visitors?
- Slow page loading: images usually make up most of a page's weight; the heavier the images in the first screen, the longer the page takes to appear.
- Low PageSpeed score: Google measures how long the largest element of the first screen takes to appear (LCP), and that element is often an image.
- Wasted bandwidth and storage: a 5 MB image downloaded thousands of times a month adds up.
Targets to aim for: full-width images (banners, covers) under 300 KB; images inside articles and product photos under 150 KB; small images and avatars under 50 KB.
Step 1: Resize to the size the image is displayed at
This is the step that saves the most, and many people skip it. A phone photo is about 4,000 px wide, while an article column on the web is only about 800 px wide; the browser still has to download all 4,000 px and then scale it down.
| Image position | Width to use |
|---|---|
| Full-screen image (banner, cover) | 1,600 to 1,920 px |
| Image inside an article | 1,200 px |
| Product image, card image | 800 px |
| Avatar, partner logo | 200 to 400 px |
Simply taking a 4,000 px image down to 1,200 px cuts the file size many times over, and it is still sharp enough for a high-resolution phone screen.
Step 2: Choose the right format
- Photos (people, products, scenery): WebP, or JPEG if the place receiving it cannot read WebP yet.
- Images with a transparent background: WebP or PNG.
- Logos, icons, simple line graphics: SVG if you have it, because it stays sharp at any size and is very light.
The most common mistake is saving a photo as PNG: for the same picture, a PNG file can be many times heavier than a JPEG. More about WebP and how to convert in bulk is in our guide on converting images to WebP for websites.
Step 3: Compress at quality 75 to 82
The "quality" slider when you save an image decides whether it turns blurry.
- 75 to 82: the balanced level for photos; the file size drops a lot and the eye can hardly see a difference.
- 85 to 90: for images with small text, screenshots, and product photos where the material needs to be clearly visible.
- Below 65: smudges start to show in the sky, skin and text edges; do not use it for main images.
An image that looks "blurry after compression" is often not caused by compression but by enlargement: a 600 px image placed in a 1,200 px frame gets stretched to double its size by the browser. That is why step 1 resizes only down to the frame width, not smaller.
Step 4: Test the compression and compare by eye
Use Digotech's free online image compression tool:
- Drop one or more images into the frame; images are not sent over the internet, everything runs in your browser.
- Choose to save as WebP, set the maximum width using the table in step 1, and drag the quality to about 78.
- Check the file size before and after, zoom in on areas with text or fine detail to compare; if it looks fine, download it.
A 4 MB phone photo that goes through these 4 steps usually ends up at about 100 to 200 KB.
Images are light but the page is still slow?
Compressing images is the first thing to do, but not the only one. A page can still be slow because it loads images further down the page right from the start, because too much code runs alongside it, or because the server is far away or overloaded. The checklist is in our guide on 7 ways to raise your PageSpeed score without changing the design. If you do not have time to do it yourself, Digotech takes on website upgrades for existing sites: bulk image optimisation, loading images by screen size and making pages open fast on phones.
In short
- Web images should be under 300 KB (banners) and under 150 KB (article and product images).
- Resize to the frame width first: it saves the most without blurring.
- Save photos as WebP or JPEG, not PNG; use SVG for logos.
- Quality 75 to 82 for photos, 85 to 90 for images with text; after compressing, zoom in and compare by eye.
Comments
No comments yet.